Installing and Setting up Patron Content Manager
The setup wizard in Patron Content Manager makes connecting your site to Patreon and managing your patron content very easy:
1 – Download the Patron Content Manager plugin file (patron-content-manager.zip) from your CodeBard account
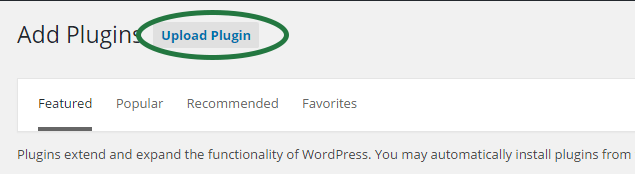
2 – Visit plugin admin of your WP site, and click ‘Add new’.

3 – Click “Upload”, and in the resulting file selection input, find and choose ‘patron-content-manager.zip’ file you downloaded earlier.
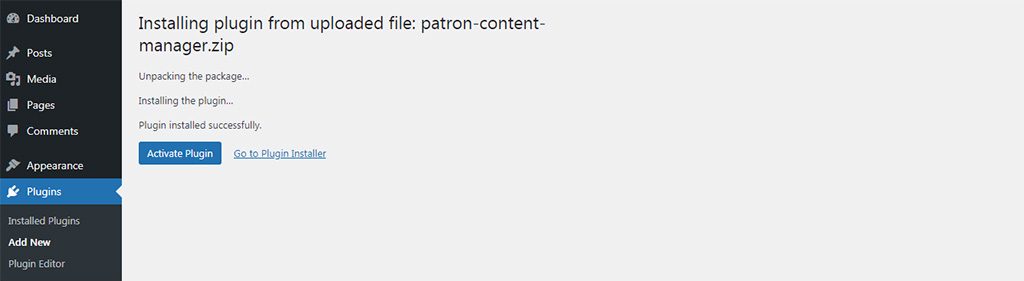
4 – When upload finishes, WordPress will let you know, and let you activate the plugin. Click “Activate” button to activate the plugin.
5 – Setup wizard will kick in. Just follow its instructions.
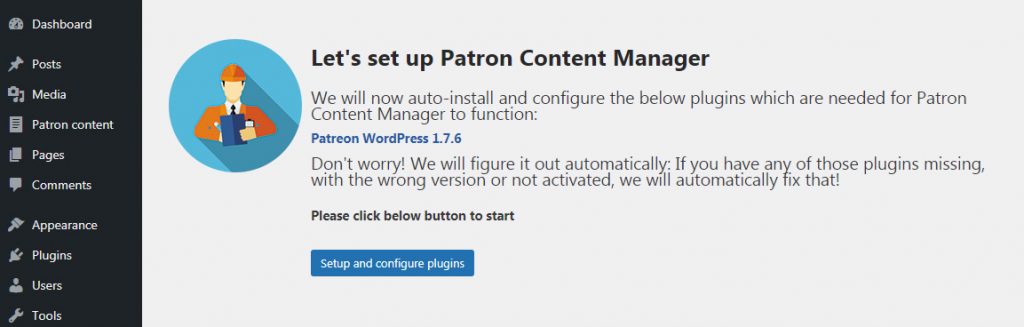
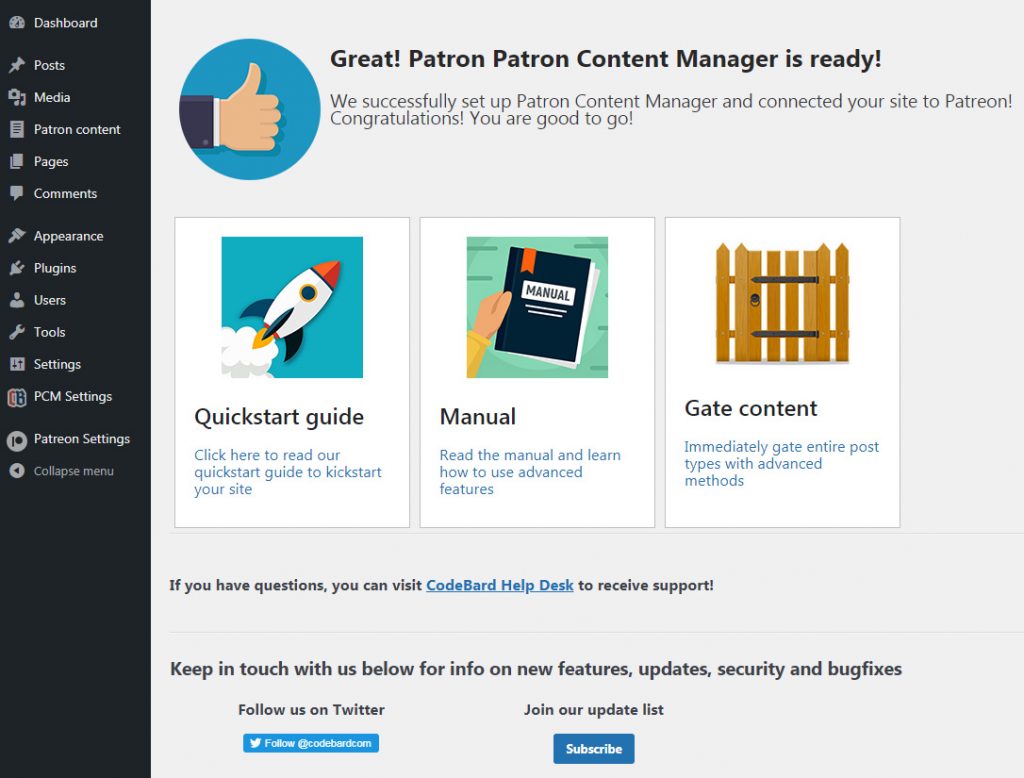
6 – When setup wizard is done installing and configuring the Patron Content Manager, click ‘Lets go’.

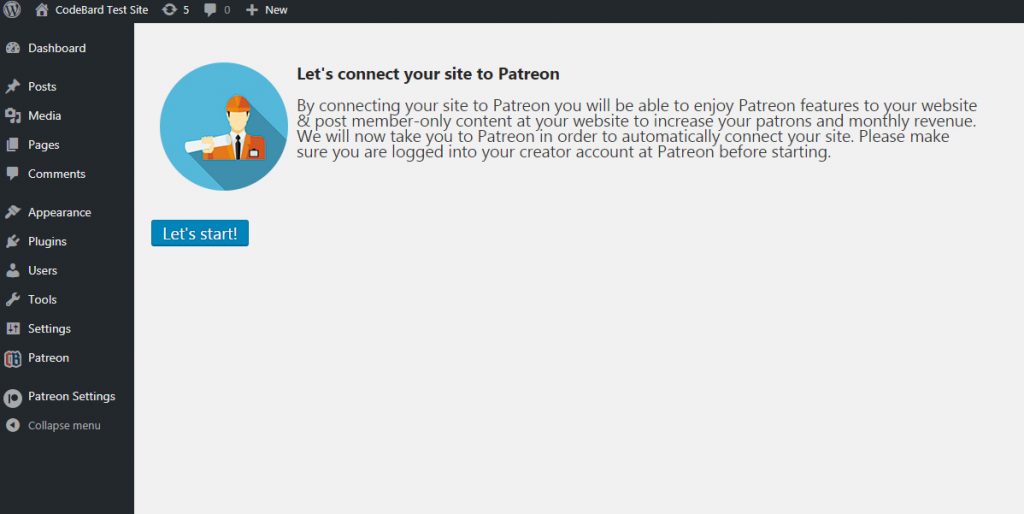
7 – Click ‘Lets start’ to be taken to Patreon to connect your site if you haven’t already done it before.
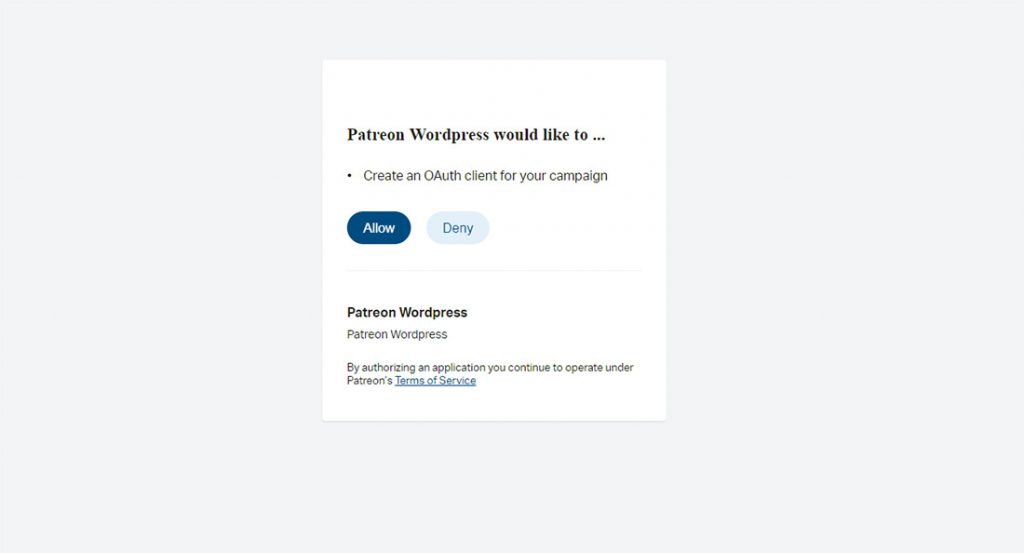
8 – Give permission to Patreon to connect to your site by clicking “Allow”.
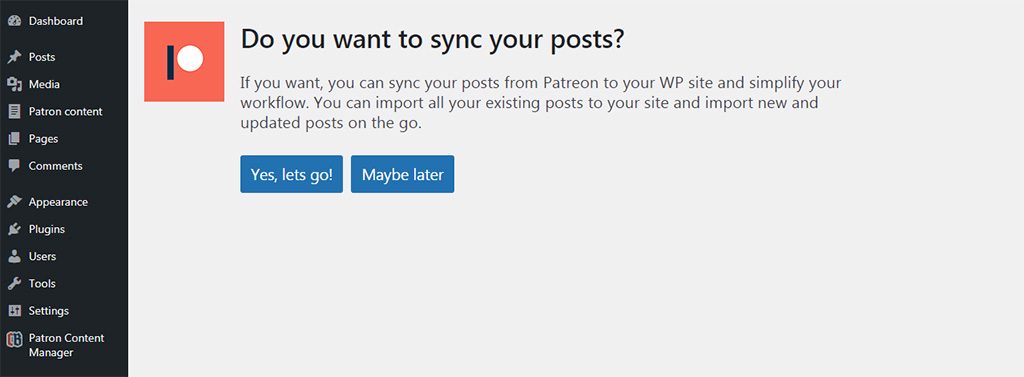
9 – In a few seconds, you will be back at your site and your site will be connected to Patreon! If you want to sync your posts from Patreon and you haven’t already done it before, just follow the two extra steps of the setup wizard which will guide you through post sync.
10 – And you’re done! To get started with Patron Content Manager at lightning speed, check out Quickstart guide. To make sure you hear about new features and updates to Patron Content Manager, subscribe to our mailing list or follow us on twitter..