Installation
The updated setup wizard in Patron Pro makes connecting your site to Patreon and gating your content with advanced methods very easy:
1 – Download the Patron Pro plugin file (patron-plugin-pro.zip) from your CodeBard account
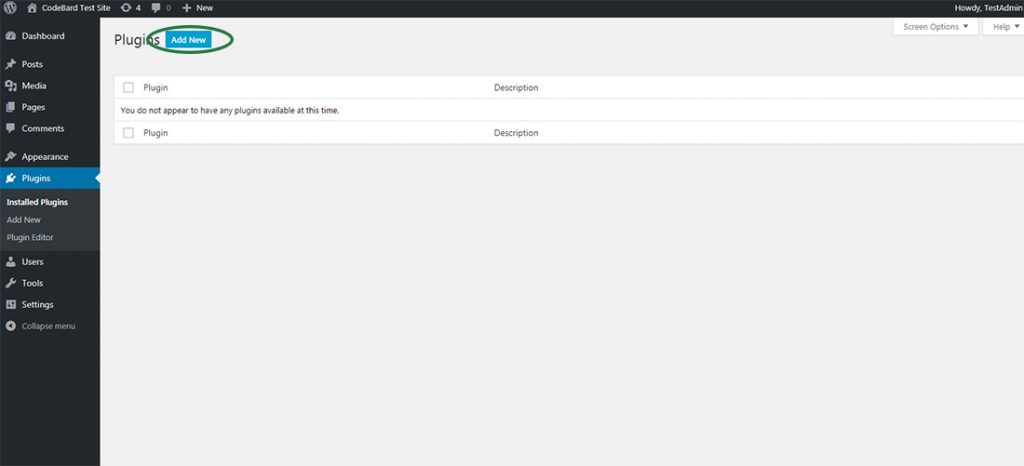
2 – Visit plugin admin of your WP site, and click ‘Add new’.
3 – Click “Upload”, and in the resulting file selection input, find and choose ‘patron-plugin-pro.zip’ file you downloaded earlier.
4 – When upload finishes, WordPress will let you know, and let you activate the plugin. Click “Activate” button to activate the plugin.
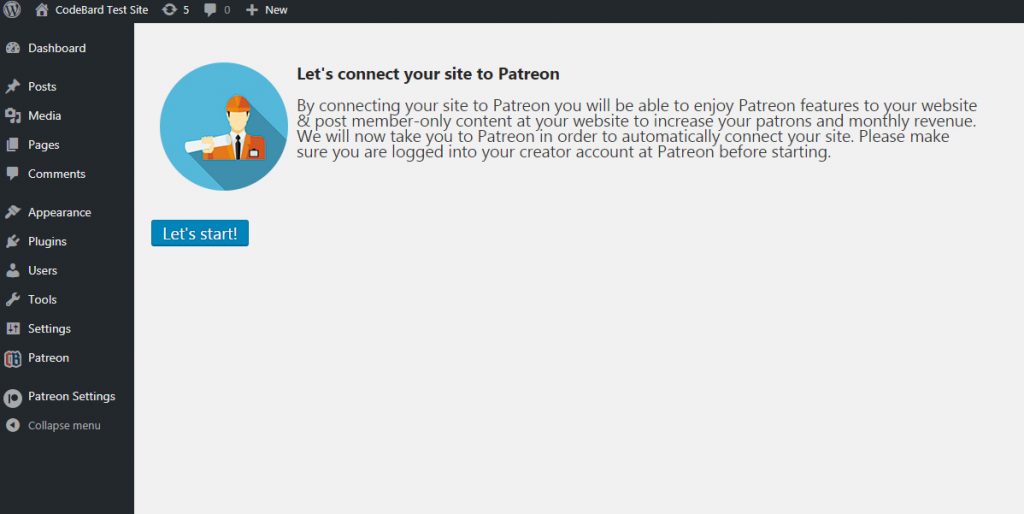
5 – Click ‘Lets start’ to be taken to Patreon to connect your site.
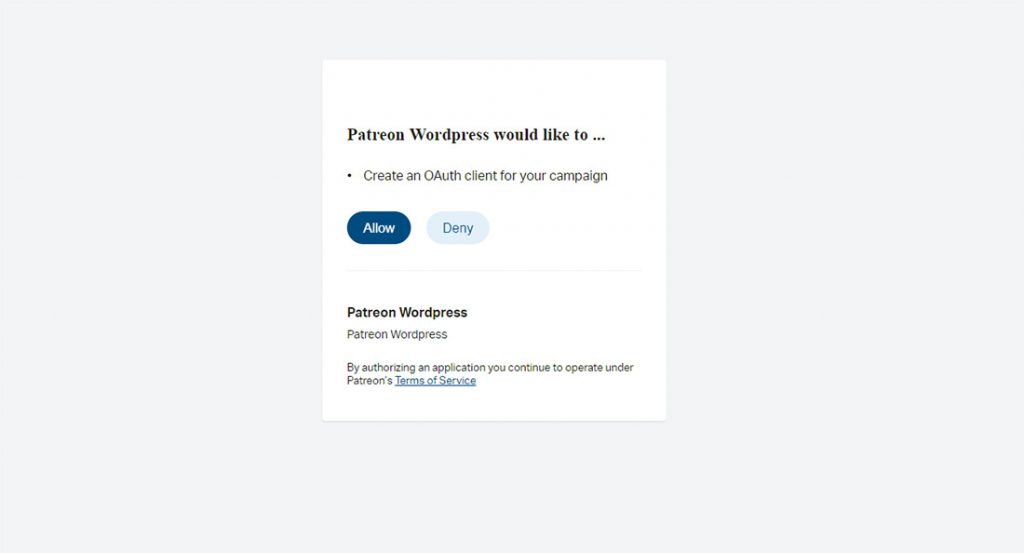
8 – Give permission to Patreon to connect to your site by clicking “Allow”.
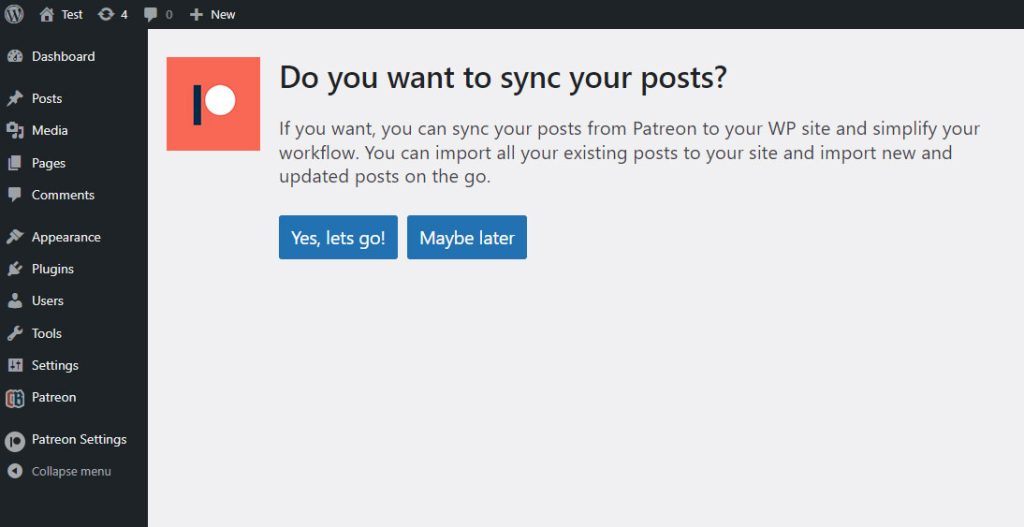
9 – In a few seconds, you will be back at your site and your site will be connected to Patreon. And the plugin will ask you whether you want to sync your posts from Patreon to your site. If you turn this feature on, your existing posts and future posts at Patreon will be replicated at your site.
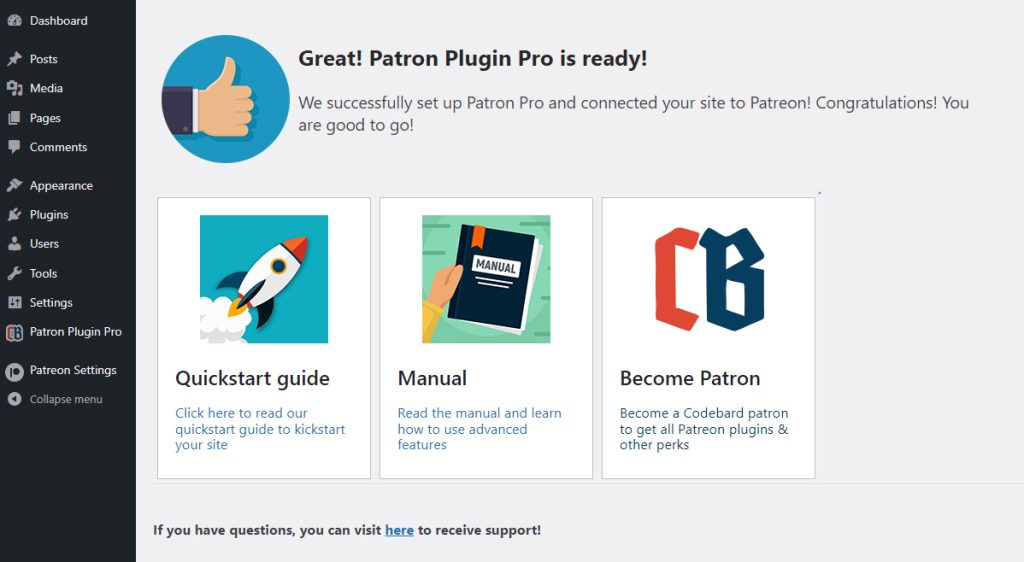
10 – You’re done! To get started with Patron Pro at lightning speed, check out Quickstart guide. To get access to all Patreon and Codebard plugins and more perks, become a Codebard Patron. To make sure you hear about new features and updates to Patron Pro, subscribe to our mailing list or follow us on twitter. Patron Pro adds new features to its already rich list of features.
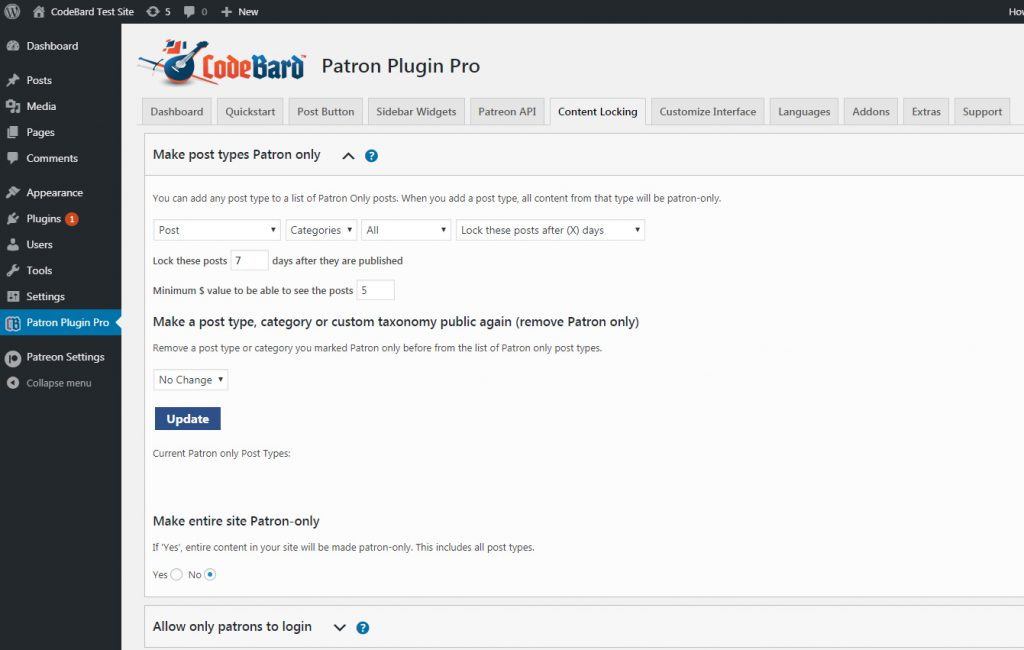
As an example, you can gate your content with very advanced methods in one go by visiting your WP admin -> Patron Plugin Pro -> Content Locking menu.
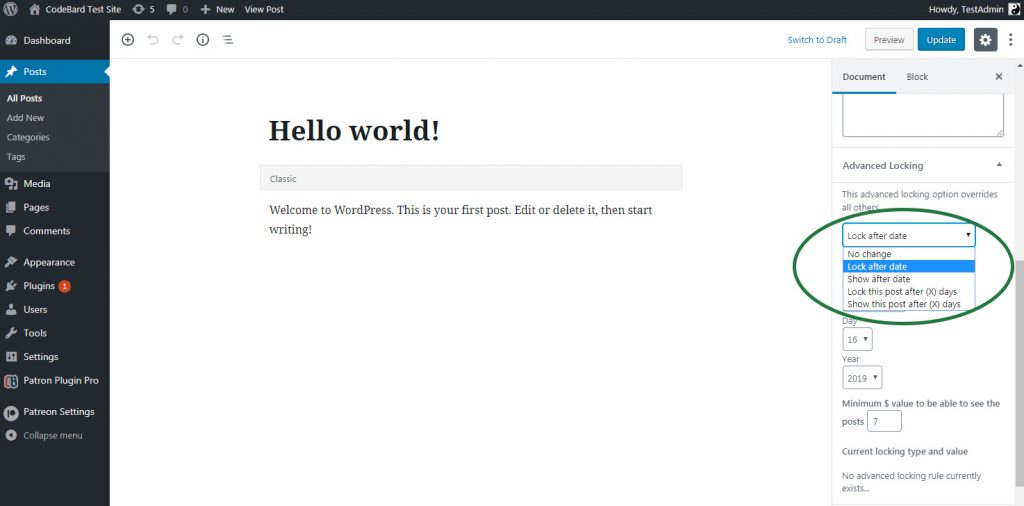
If you wish, you can gate individual posts with advanced methods as well.
Now the advanced tools which Patron Pro provides are at your disposal and they will help you increase your patrons and pledges to new heights. Whenever in doubt, refer to the manual or contact support!
